Posts

Showing posts from January, 2023

S2W4

Image
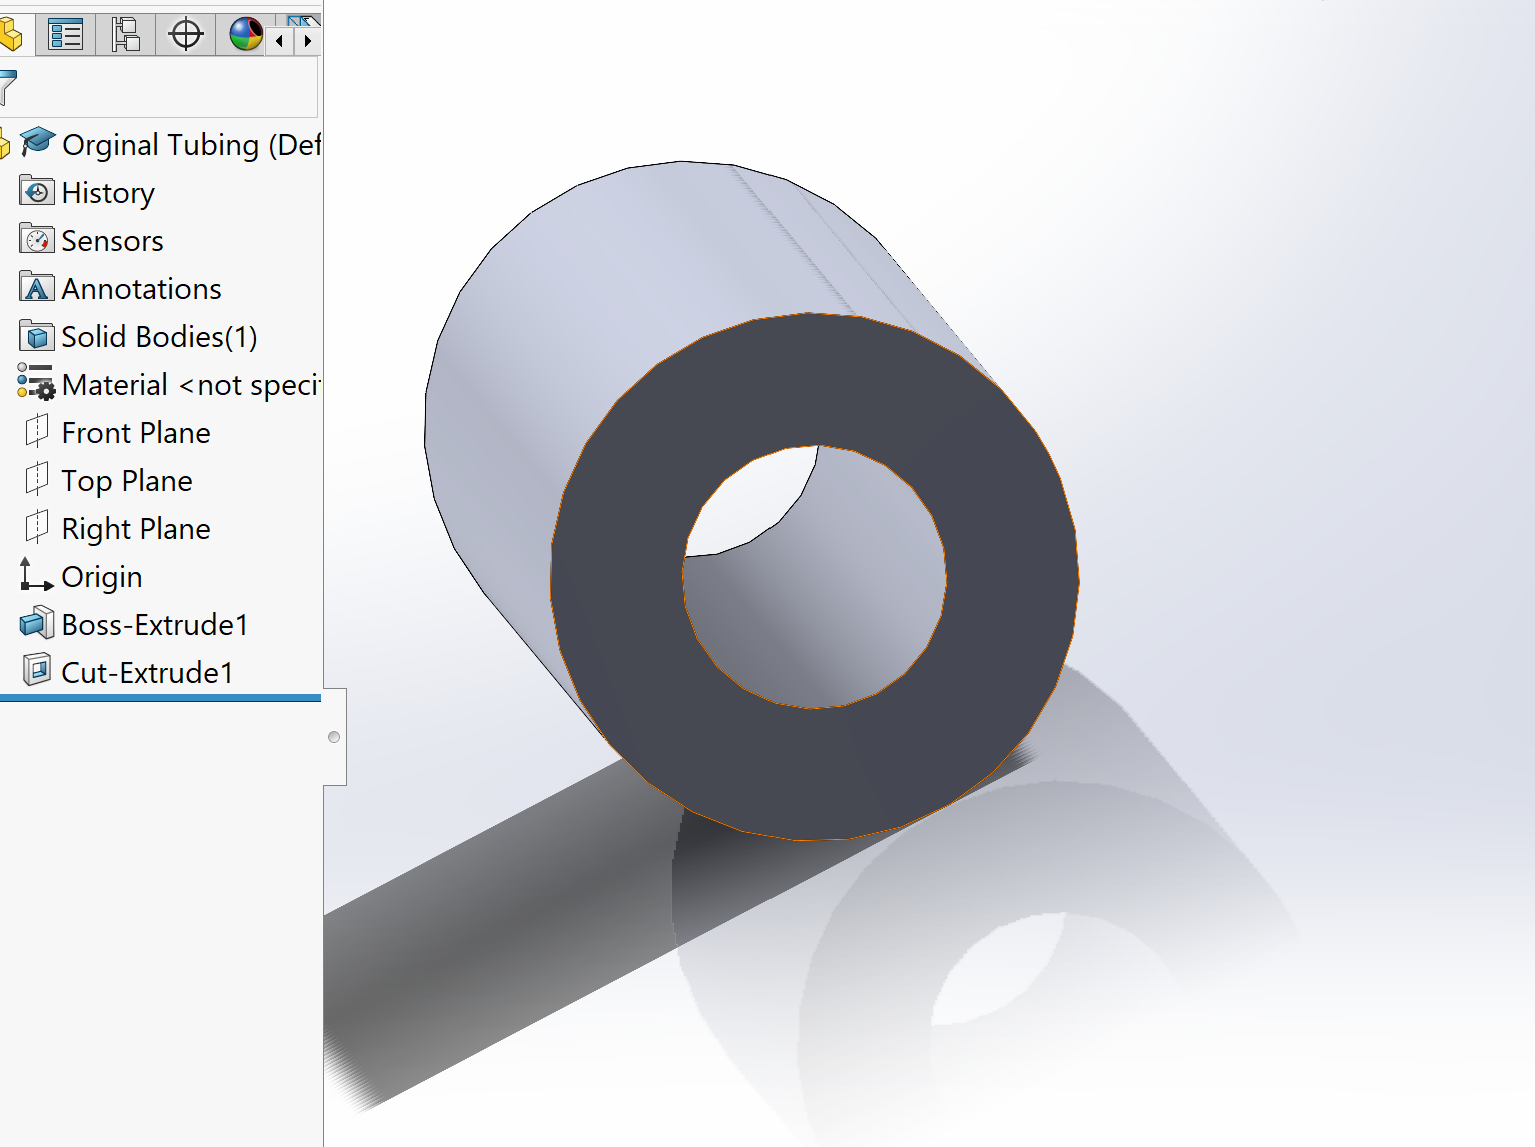
 Original tubing (0.6x 0.3) SolidWorks  Original Tubing FEBio (import by dragging STL file in workspace on FEBio) 0.5x0.3 tubing SolidWorks  0.5x0.3 tubing FEBio 0.4x0.3 tubing SolidWorks                                                      0.4x0.3 FEBio Computational Fluid Dynamics (CFD) in FEBio – FEBio Software Suite Creating Your First CFD Model in FEBio Studio – FEBio Software Suite Creating Your First Model in FEBio Studio – FEBio Software Suite FEBio: Material Plugins (12) Running a model from the FEBio repository - YouTube

Semester 2- Week 4 Kierstin

Image
  *Back pressure (or backpressure) is a resistance or force opposing the desired flow of fluid through pipes, leading to friction loss and pressure drop .  Calibrating the pressure sensors:  How to test pressure in the small tubing/ Benchtop Plan: Pictures 1-4 were taken when Alex and I worked with Dr. Rickard to figure out the pressure sensors. We read the data sheet and then connected it to our system to get the pressure values. We labeled the wires to make it easier to connect and disconnect, as well as to replicate when we need to add more pressure sensors to the benchtop test. We calibrated the sensor to ensure it was working, and then we took measurements of the voltage at different heights to create a linear graph. Using this linear graph we were able to calculate the pressure in mmHg. When Alex and I did it the first time it was with the wrong connecting wires, so we remeasured using the wires shown in the pictures above. (This is shown in the excel pictures above)  Brinkley a

S2W3-Alex

Image
 Watched FEBio webinar:  Webinar: Introduction to FEBio Studio - Bing video Notes:  Del#5: did risk assessments  Webinar tutorial: 

Semester 2 Week 3 - Brinkley

Image
 This week consisted of lab time, research, calculations, and working on Del. 5.  This week in the lab I removed the molds, created more stiff sutures, attempted to thin the walls even more, and looked at the flow sensor.  The molds came out great and the release spray that we used worked really well. We were able to poke holes in the molds to fit our tubing, and then we will put the stiff sutures inside of the tubing. The valve was assembled and any holes were sealed.  These are the different sizes from the mold.  We tried to thin the walls of the tube out again and we did it by submerging the tube in boiling water while having water flow through the tube. We did not see any results from this. We again trued the tube over the candle, but this time flushing water through it, and that did not seem to make a large impact either. The best option right now is shaving the tubing to thin it.  A big chunk of my time was spent on finding helpful calculations to do and executing them. Here are

Semester 2- Week 3 Kierstin

Image
  SOLIDWORKS:  Worked in Solidworks on creating the body shape and size.  This shape and size is based on the Ahmed valve reference to ensure that it will be able to be implanted in the eye.  I had to fix a few of the dimensions and the shape again to get the rounded corners and a more rounded front. The loft for some reason was making the sides bulge out, so I had to redraw and recreate the loft into the shape I wanted.  It took a long time to figure out how to make a plane at 45 degrees for the angled tubes. I wanted to make sure the planes on both sides were equal so the part would be symmetrical and so I could dimension the drawings correctly.  I applied the silicone material and noticed the connection point between the tubing was a little messed up. This would create leakage and would alter the fluid flow in the valve.  I had to redraw the sketches and make sure their origins were lined up. It looks like this now that it is fixed. All the tubes have extruded cuts through them so f

S2W2

 Assigned testing:  Brinkley  ISO 11135:2014 - Sterilization of healthcare products Specifications:  Needs to be documented  Tests: Products will be sterilized using the sterilizer and making sure that it meets the appropriate standards.  Assigned to: Brinkley Aqueous testing Specifications:  Materials should be monomer content, molecular weight, identification, and quantification. It must also be able to sustain the degradation of the product aging.  Test:  The valve will have fluid pass through it about 60 times with 1-50µl/min flowing through.  Assigned to:  Brinkley  Must have waste disposal protocol  Specification:  Must be environmental friendly  Test:  Ensure to use materials that have lower impact on environment can be checked by looking up sources on different materials  Assigned to:  Brinkley  Device needs to have shelf life of of about 7 years with success rates of 80% or more  Specifications  Must be aged 7 years to test shelf life  Test  Age in oven to ensure shelf life an